So in part 1 we went through full length sizing, neck sizing, de-priming, case length sizing and finally chamfering. So we’re most of the way through our case prep. From here we continue…
ALWAYS SEEK EXPERT ADVICE WHEN EXPERIMENTING WITH RELOADING AMMUNITION. THERE ARE A LOT OF VARIABLES TO TAKE INTO ACCOUNT. THIS IS NOT TO BE USED AS A GUIDE TO MAKE AMMUNITION, PURELY TO DEMONSTRATE THE PROCESS. I ACCEPT NO LIABILITY.
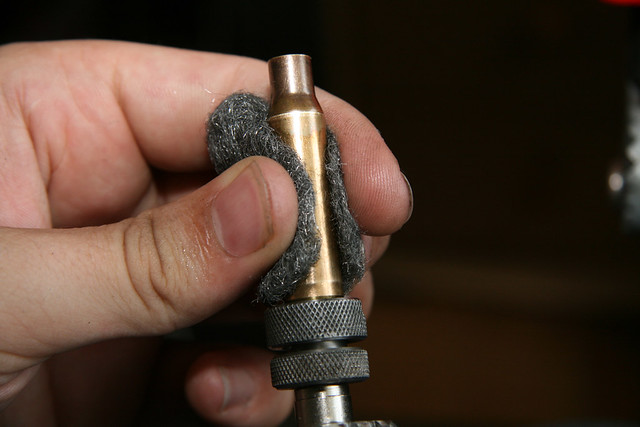
Wire Wool Case Cleaning
As mentioned in Part 1 some of these processes have been refined and changed somewhat. This is one of those processes. Initially I used wire wool to clean each individual case whilst still in the electric screwdriver. However I have since bought a Lyman 1200 Pro Turbo Case Cleaning Tumbler which I use at the start of the procedure…
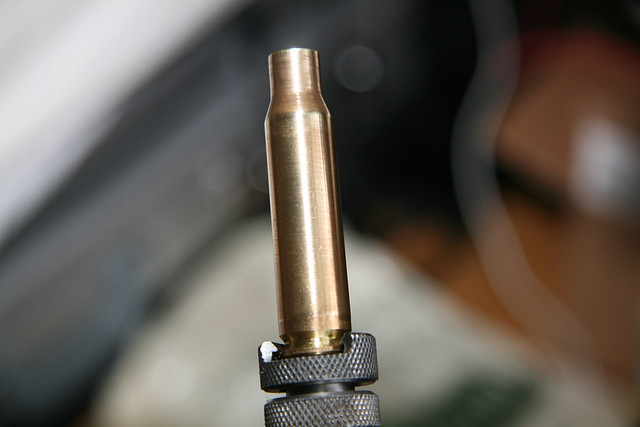
Cleaned case…
Either way, as you can see, my original method worked well!
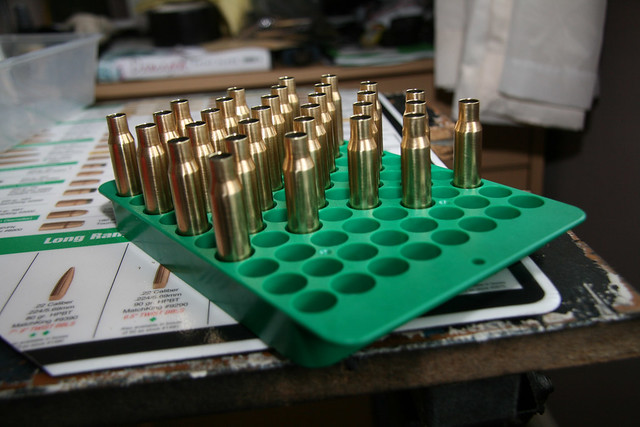
Rinse and Repeat – Tray of cleaned and sized brass cases…
After trimming and chamfering on a brass case that still has lube in the neck, you can sometimes find that you have brass swarf stuck on the inside of the neck. As we don’t want any change in consistency from round to round and risk scoring the projectile in some non-uniform way, we need to clean the inside of the necks.
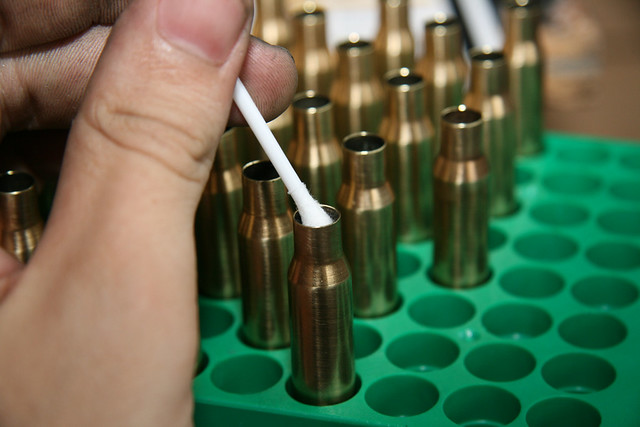
Inside Neck Cleaning achieved with a Cotton Bud (Q-Tip for our American readers).
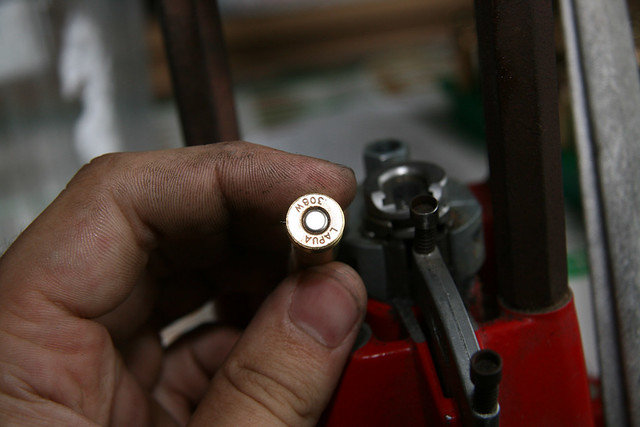
We’re fully sized, cleaned and ready to start loading components. On to Priming…
Priming with the press
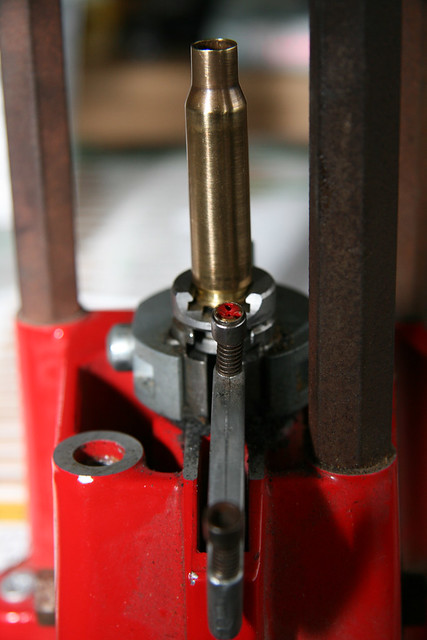
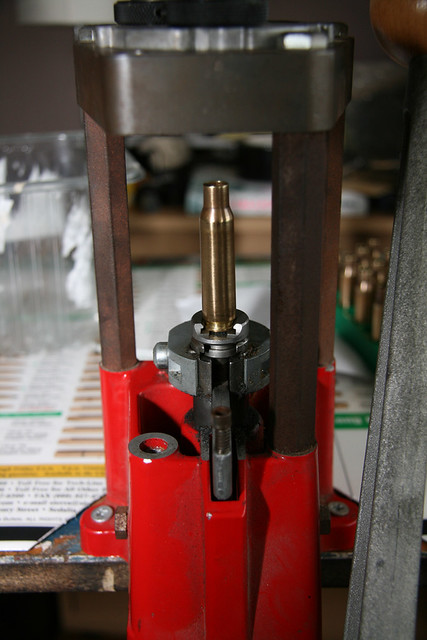
The Lee Deluxe Turret Press I am using has the facility to prime using the press as shown here. You bring the lever down and the case up half way, and push the ‘T’ bar forward, so that the primer is under the case, and reverse the lever pushing it fully forward and seating the primer into to case.
Seating the Primer
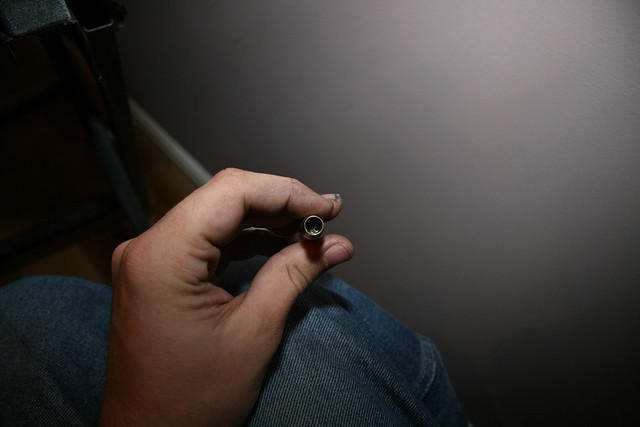
Primed case
Priming the cases in this method proved reliable and consistent, however trying to grab individual primers and load them into the priming ‘T’ bar on the press became tedious and I bought a Lee Hand Held Autoprime which sped up the process quite a lot.
Now we have a fully primed case, there are only 2 things left to do, the next process really taking the majority of the time.
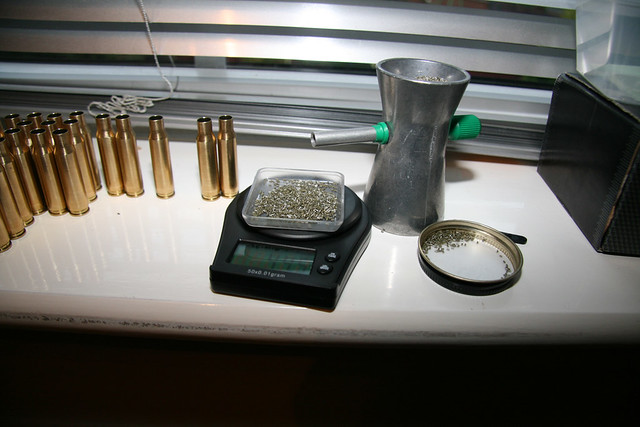
Weighing out the powder charge
Here we have to weigh out the powder charge for each individual case to 1/10th of a grain. For scale, a paperclip weighs 1 gram. there are 15.4 grains to a gram and we are working to 1/10th that. roughly the accuracy of 154th of a paperclip!
I have expedited this procedure somewhat by adding a Lee Perfect Powder Measure which is set to throw just under the amount required and then the RCBS Powder Trickler (green and silver thing in the above picture) is used to put the last fine accurate amount of powder into the dish.
The above scales started getting temperamental after a few hundred rounds, so I bought a well renowned RCBS 5.0.2 Beam buy xanax with paypal Scale which is more consistent and much more accurate.
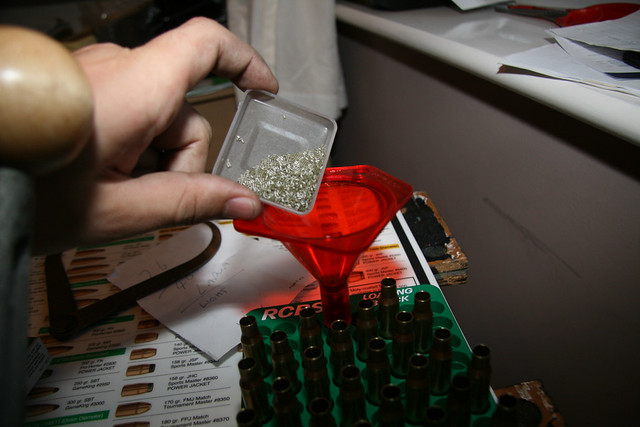
Using a funnel we put the weighed charge into the primed brass.
Quick visual check that the powder all transferred into the case
And onto the final stage seating the bullet using our bullet seating die. These rounds are tailored exactly to my rifle, the depth at which the bullets are seated is no accident, it was worked out using a specific method to see how far from the bolt face to the lands was, and then backed off so that the bullet when chambered would sit around 20 thousands of an inch away from it. I will come back to this at some point in the future.
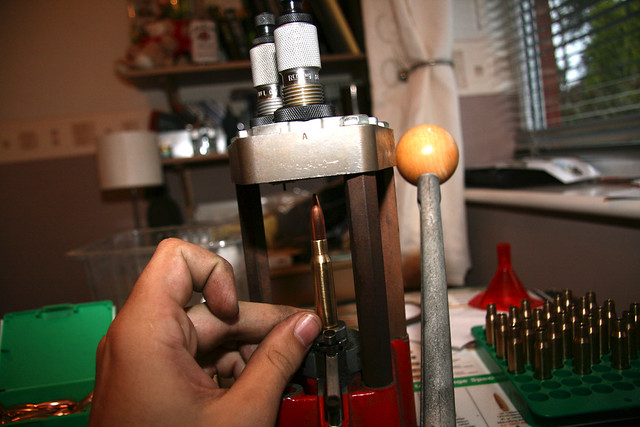
We put the bullet in the neck of the brass within our press
The next bit is where we work out how to set our die, and we do this every time we start to make sure that nothing has been knocked. We wind out the seating position (at the top of the die) so we are going to definitely have bullets that are not fully seated. Then with a Digital Caliper we measure the overall length of the bullet and adjust the die, rinse and repeat until we have the desired overall length making sure not to go past the length required.
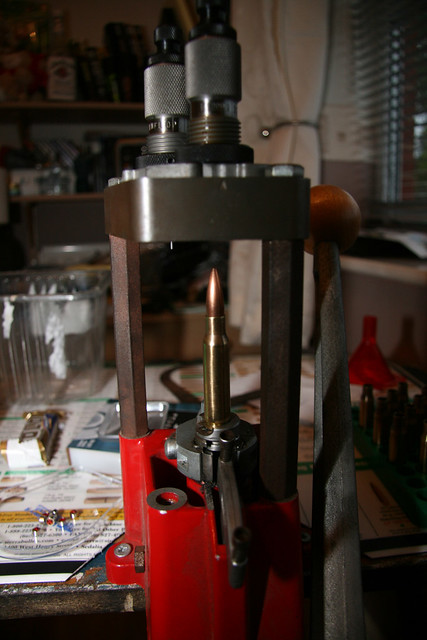
A completed round
What we’re left with a completed round of competition grade, hand loaded .308 Ammunition which is ready to fire. We repeat the process as many times as we are making rounds.
At this point your reload is considered a LIVE ROUND, and as such is subject to Section 1 of the 1968 Firearms Act. In essence, to be in possession of live ammunition without correct certification for that specific calibre is a breach of UK Law. This is classed as a firearms offence. Firearms offences can carry a mandatory minimum 5 year sentence.
It’s worth noting that you can make ammunition that will fire and be perfectly reasonable to shoot at the range with far less equipment and to far less precision. However, when you are firing up to 1200 yards (1100m) away the slightest inconsistency can be the difference between hitting your target, or being 6 inches off your target, so better to be accurate in that situation.
My methodology is constantly under scrutiny of how to make it more economical, specifically time-wise as after all this you can imagine it’s quite time intensive.
After this set of photos it was off to the range to test the batches that were in .3gr powder increments with everything else the same to find what worked best in my rifle.
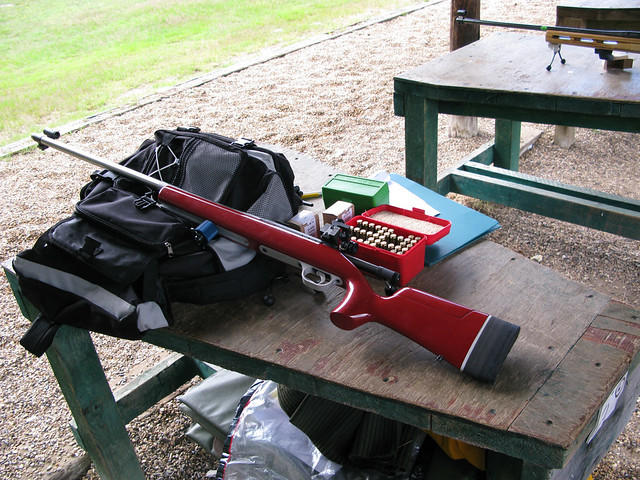
Batch Testing .308
Hope you enjoyed my ‘brief’ writeup and that you learned something from my ramblings.
Ste Gough


25th February 2016 at 11:07 am
Brilliant write up.