So a distant memory of when I was little, living in my childhood home was that of sitting around watching movies whilst dad pressed .38 calibre bullets for his, then .357 Magnum Smith and Wesson Handgun (reluctantly I never did get to shoot it…).
Well time has moved on and we no longer have pistols, and whilst we still have the press and a rifle that will take the rounds, it has sat doing very little for a few years.
Upon getting into target shooting, I found that I was very interested in doing long range shooting with “proper” bullets. You know, Nato calibres. Those ones that our serving military use. So I set about learning how to make ammunition.
I had a press, how hard could it be…?
This is a rough guide of how I started loading my first rounds. Some processes are now more refined, but this is how to make a competition grade cartridge.
ALWAYS SEEK EXPERT ADVICE WHEN EXPERIMENTING WITH RELOADING AMMUNITION. THERE ARE A LOT OF VARIABLES TO TAKE INTO ACCOUNT. THIS IS NOT TO BE USED AS A GUIDE TO MAKE AMMUNITION, PURELY TO DEMONSTRATE THE PROCESS. I ACCEPT NO LIABILITY.
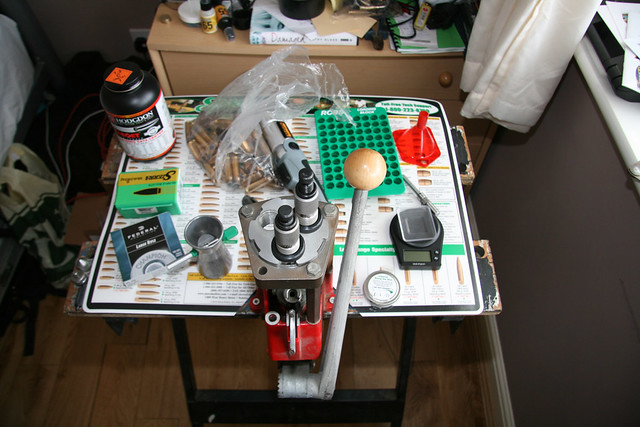
The Bench
This is practically all the stuff you would need to reload ammunition (maybe a little more than necessary, but this is how I started)…
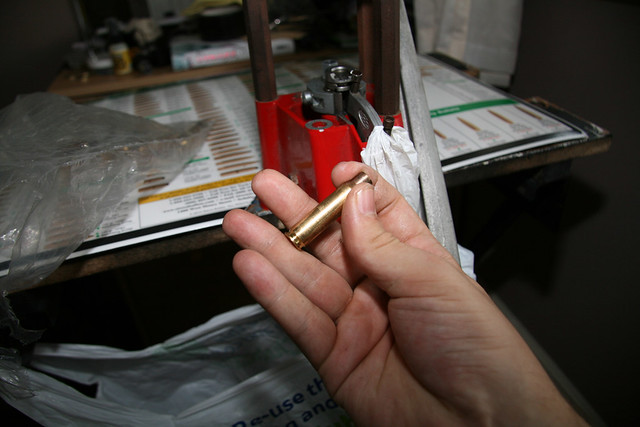
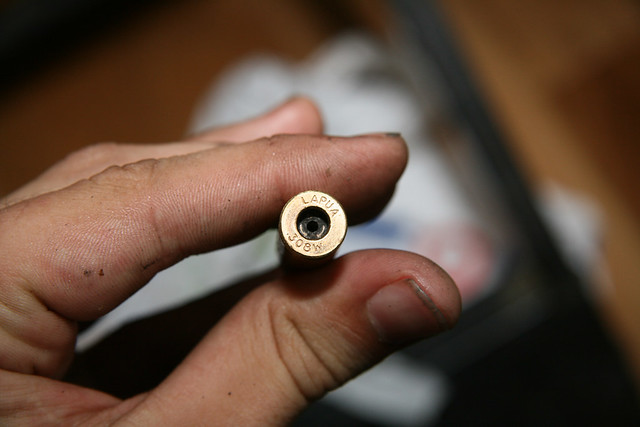
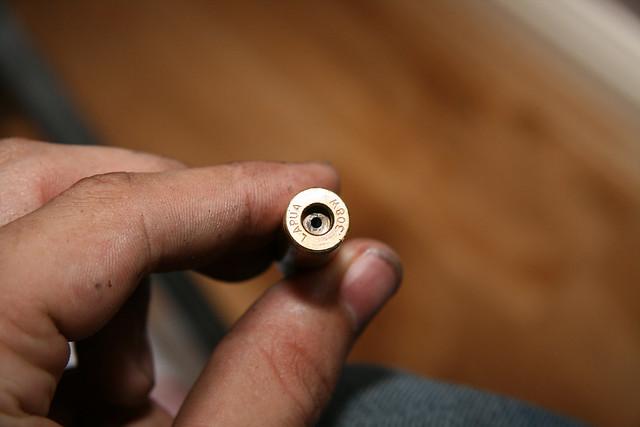
The Brass
I was lucky to have a line on some high quality once-fired brass cases to reload with. They were not fired from my rifle so first things first, I had to full length resize the brass.
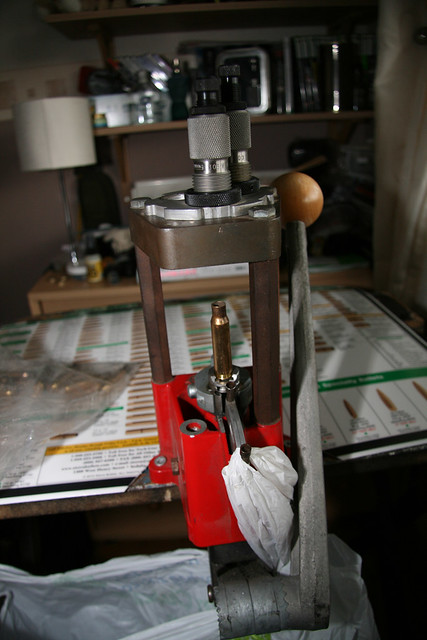
Slide the brass in to the holder…
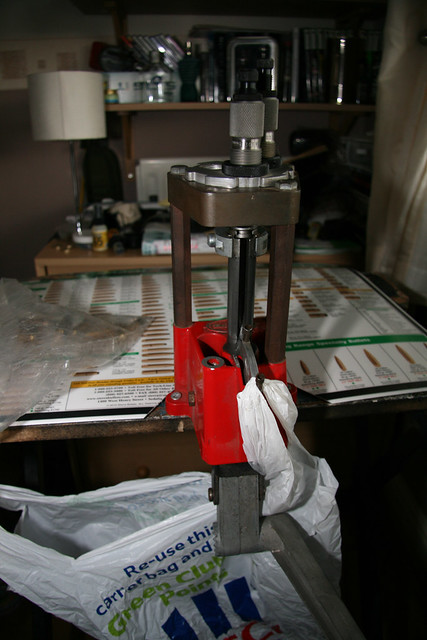
…pull down on the lever…
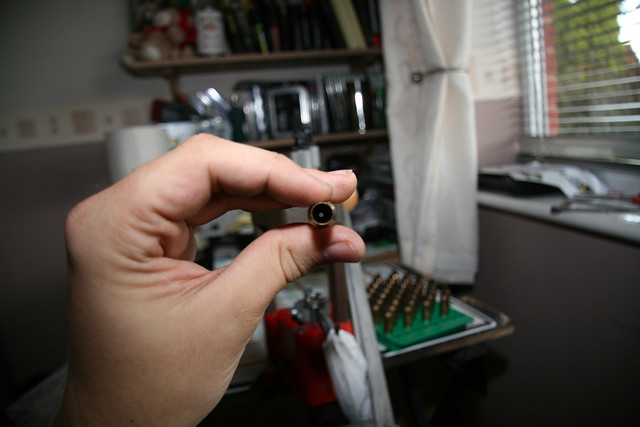
This die also pops out the fired primer so you can see the hole at the bottom.
Rinse and Repeat 40 times and we have this…
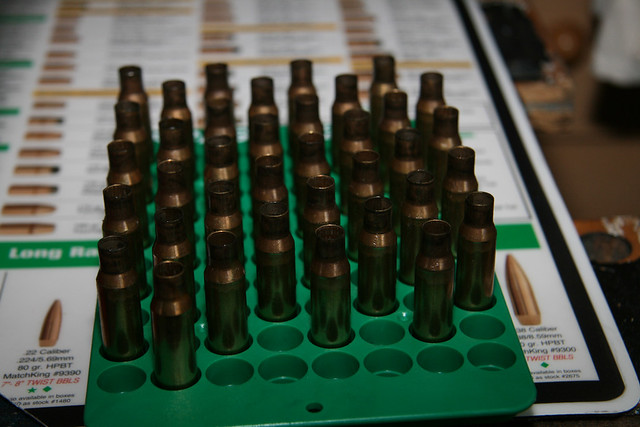
Tray of sized and de-primed brass.
We then need to resize the neck, so it will hold a new bullet/projectile. When anything is too tight, and you don’t want it to get stuck… what do we do… we grab the lube…
Case Lubing
So we’ve de-primed, full length sized and now neck sized our once-fired brass. Next we’re going to want to clean it up. This process and the tools have changed since I took these photos, perhaps I’ll do a more in depth series of blogs demonstrating the individual processes as time goes by, but for now we’ll show you what I did use, and briefly mention how the procedures changed along with the pictures.
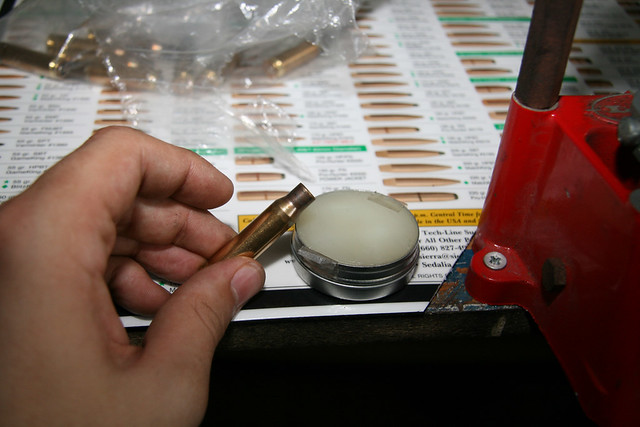
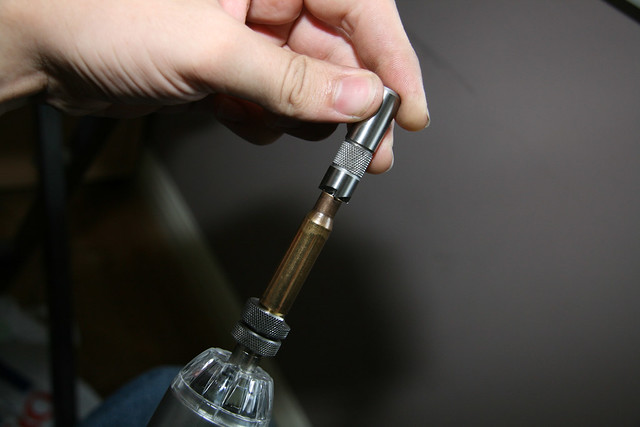
Cleaning the primer pocket
This tool cleans the primer pocket…
Before…
…After.
This tool was bought when I bought a lot of the dies and spent an awful lot of money kitting myself out in the first instance. After cleaning the primer pockets of around 200 rounds, it became very apparent that I needed a more ergonomic tool for the job. I since bought a Lyman Primer Pocket Cleaner – Large it has been much more pleasurable.
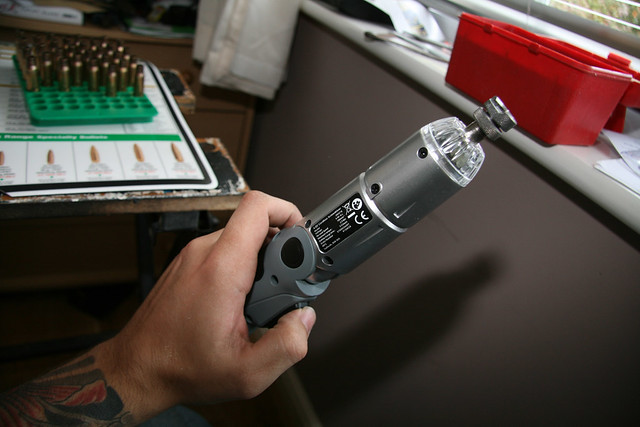
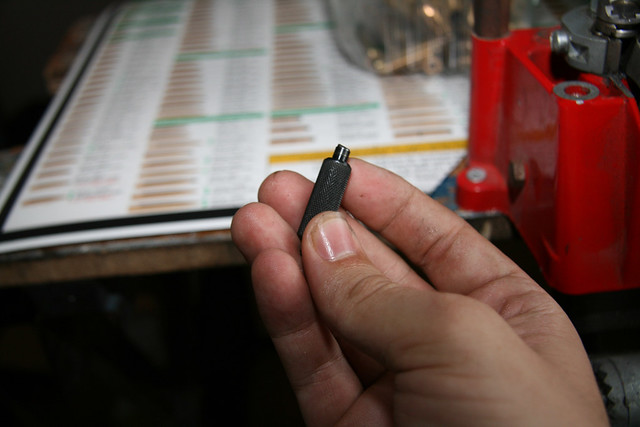
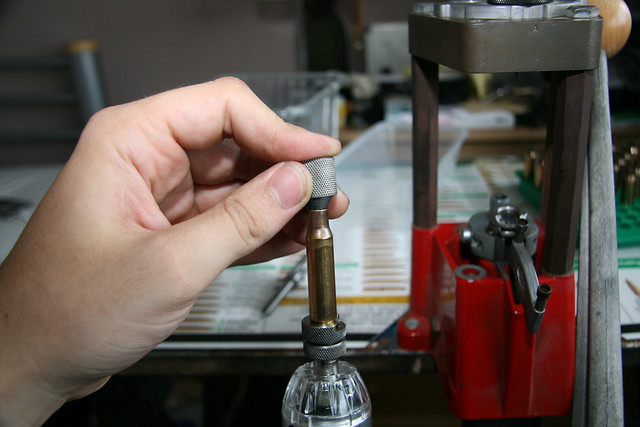
Trusty Electric Screwdriver
An invaluable tool for this job is the electric screwdriver and a Lee 308 Case Length Gauge & Shellholder make sizing fairly simple.
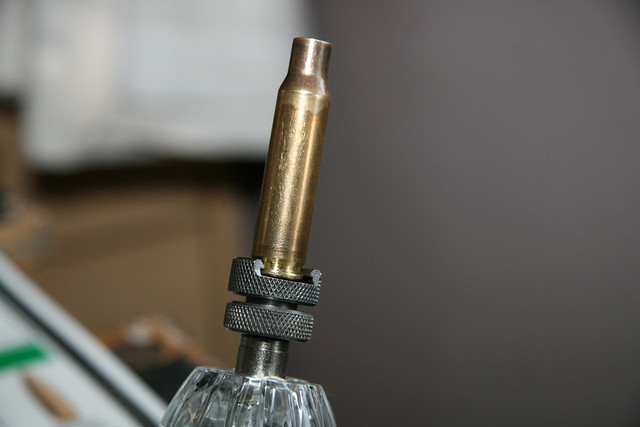
In goes the brass…
Put the full length sizer in the brass and give it a whirl…
Once the brass spins freely you now have brass the right length, it may have burrs on it though, and we don’t want to snag the bullet or score it as it leaves the case, so we use a Lee Chamfer Tool…
Inside…
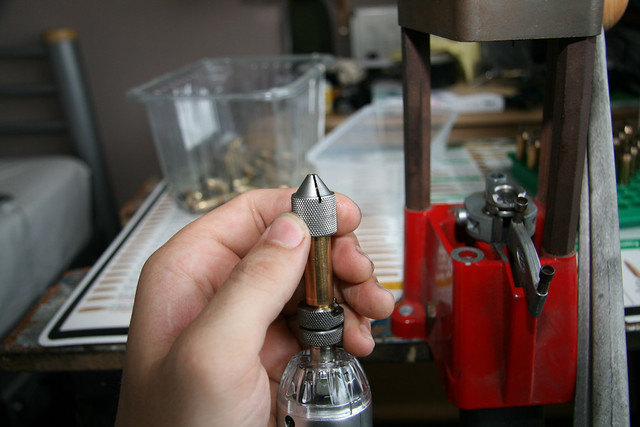
And Out…
Continued here.


2 Pingbacks