Preface
When searching the internet for “mxr mc403 pedaltrain” I found a few people who had the same power supply as I was looking to get, and pictures of modified Pedaltrain pedal boards where the unit would not fit directly underneath. This led to some confusion over whether or not I would have to take a grinder or hacksaw to a brand new £150 pedalboard in order to mount the £200 power supply underneath.
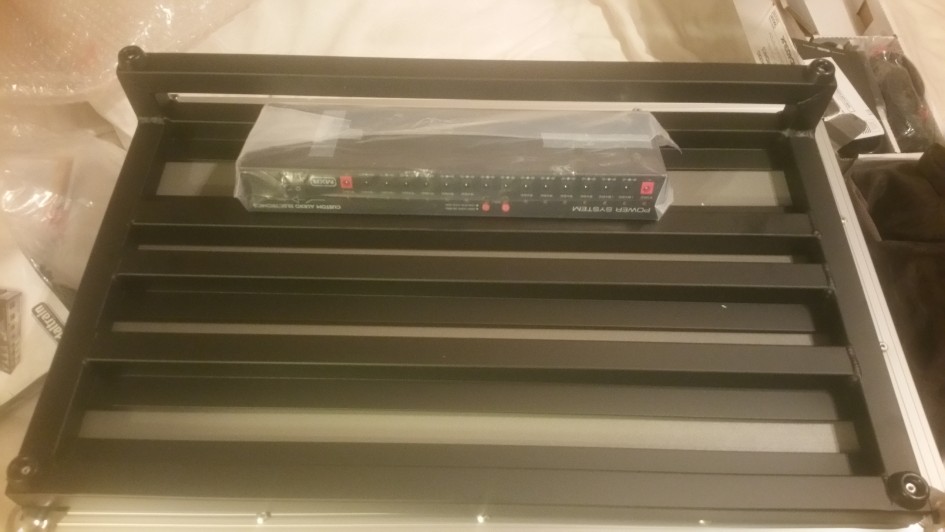
I finally bit the bullet and ordered both the MXR CAE MC403 Power Supply and a Pedaltrain Novo 24 with Tour Case.
Offering up The MC403 to Pedaltrain Novo

Checking Bracket Width & hole Locations : MX403 – Pedaltrain Novo

Checking Bracket Width & hole Locations : MX403 – Pedaltrain Novo
Three out of the four holes line up on the brackets if using the vertical support beam, which I did. I figured that 3 sturdy supported mounting points would be more than enough to hold the power supply in place. With this set, I mounted the brackets to the power supply and marked out the holes.

Affixed Bracket and Marking Hole Locations : MX403 – Pedaltrain Novo

Affixed Bracket and Marking Hole Locations : MX403 – Pedaltrain Novo
Important Note: I mounted the power supply on this side of the board, rather than the middle or the right hand side for two reasons. Firstly, in the middle of the pedal board there is no vertical stripe, which would mean only 2 of the existing holes on the brackets would be able to be used, and for me, this induced too much chance of rocking the power supply and stripping the threads of the mounting points. And Secondly the power input is on the edge of the board in this position, along with the power switch for the supply which is handy to reach and manipulate rather than hidden right under the middle or 19″ away from the other edge of the board.
After marking the holes with the supply in position with a pencil. I centre punched the holes and made sure they lined up, before grabbing 3 self tapping generic valium colors screws and an appropriate sized drill-bit for the S/T screws.

Drilled Mounting Points MX403 – Pedaltrain Novo

Drilled Mounting Points MX403 – Pedaltrain Novo
Made sure again that the holes line up, although at this point it’s a little bit late if they don’t…

Checking Mounting Points MX403 – Pedaltrain Novo

Checking Mounting Points MX403 – Pedaltrain Novo
And screwed in the self-tapping screws. I tried by hand originally however I couldn’t put enough force behind the screwdriver to tap the aluminium of the board, so ended up getting the power drill, which made the job a doddle, just be careful not to strip the threads by over-tightening.

Mounted MX403 on Pedaltrain Novo

Mounted MX403 on Pedaltrain Novo
Does it fit?
I guess the million dollar question is whether or not the angle of the board allows the power supply to fit underneath with sufficient gap. The forums I’d seen the combination of Pedaltrain pro’s and MC403’s showed people having to use enlarged rubber feet to get the angle to allow the pedalboard to be mounted underneath.

Clearance Under Pedaltrain Novo Mounted MC403
Hell Yeah, It Fits…
Confirmed. No modifications and the power supply fits like it was grown there. Presumably Pedaltrain listened to its customers about the MC403 fitting when designing the new range of pedal boards. I have been informed by a friend with a new version of the Pedaltrain Pro that his also fits directly underneath without any modifications.
Kudos Pedaltrain.
Stay tuned to see more Pedal Board Building updates.


Leave a Reply